Vendor Onboarding Checklist: A Complete Supplier and Contractor Onboarding Guide
A well-structured vendor onboarding process helps organizations collect the right information, verify supplier documents, complete internal approvals, and activate vendors efficiently.
Without a standardized process, procurement teams may rely on emails, spreadsheets, and manual follow-ups. This can result in missing documents, incomplete vendor records, delayed approvals, and compliance risks.
A Vendor Onboarding Checklist gives procurement, compliance, finance, HR, EHS, and operations teams a consistent process for onboarding suppliers and contractors.
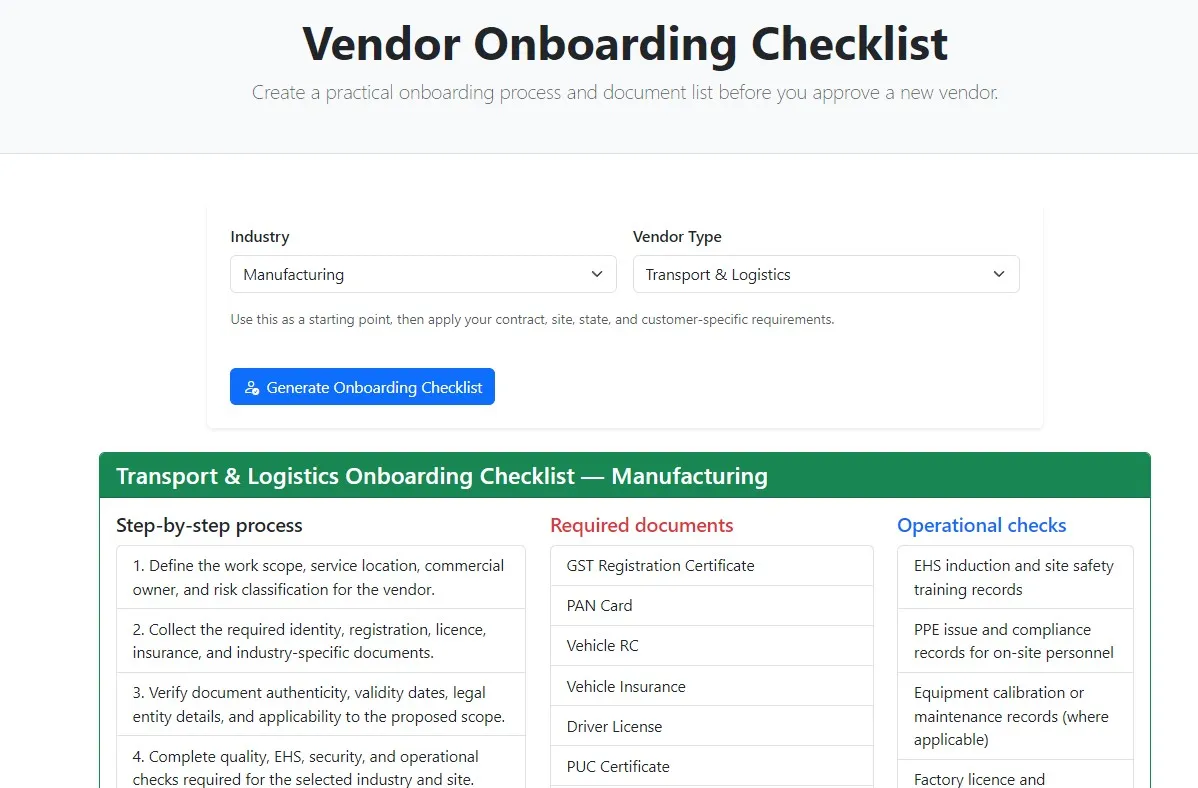
Our free Vendor Onboarding Checklist tool helps you organize the key steps required to onboard a vendor.
Use the Free Vendor Onboarding Checklist →
What Is a Vendor Onboarding Checklist?
A vendor onboarding checklist is a structured list of information, documents, verification steps, and approvals required before a supplier or contractor becomes an approved vendor.
A typical checklist may cover:
- Vendor company information
- Contact details
- Tax and registration information
- Compliance documents
- Banking information
- Insurance documents
- Quality documentation
- Safety documentation
- Contract information
- Internal approvals
- Vendor activation
The exact requirements depend on the vendor type, industry, services provided, risk level, location, and company policies.
Why Is Vendor Onboarding Important?
Vendor onboarding is more than creating a vendor record in an ERP system.
A proper onboarding process helps organizations:
- Reduce vendor-related risk
- Collect complete vendor information
- Verify required documentation
- Improve compliance visibility
- Prevent incomplete vendor activation
- Reduce repetitive follow-ups
- Create a consistent approval process
- Improve audit readiness
A standardized checklist makes it easier for different departments to follow the same process.
Vendor Onboarding Checklist
Use the following checklist as a practical starting point.
1. Collect Basic Vendor Information
Start by collecting the vendor’s basic company information.
Typical information includes:
- Legal company name
- Trade name, if applicable
- Registered address
- Operating address
- Contact person
- Email address
- Phone number
- Vendor category
- Products or services provided
- Primary business location
Accurate basic information helps establish a reliable vendor master record.
2. Collect Tax and Registration Information
Depending on the vendor and applicable requirements, collect:
- GST Registration Certificate
- PAN Card
- Company registration or incorporation document
- MSME certificate, where applicable
- Other applicable registrations
The requirements should be reviewed based on the vendor’s legal structure and business activities.
3. Collect Statutory and Compliance Documents
Depending on the vendor category, required documents may include:
- PF registration
- ESIC registration
- Labour licence
- Contractor licence
- Applicable statutory registrations
- Compliance declarations
For contractors and manpower vendors, additional labour-related records may be required.
4. Collect Insurance Documents
Where applicable, request insurance documentation such as:
- Workmen compensation insurance
- Public liability insurance
- Professional liability insurance
- Other contractually required insurance
Insurance requirements should be based on the vendor’s activities and contract.
5. Collect Quality Documents
For suppliers and service providers where quality controls are relevant, consider:
- ISO certifications
- Quality certificates
- Product certifications
- Testing reports
- Quality management documentation
- Approved supplier records
The required documentation should match the products or services being supplied.
6. Collect Safety and EHS Documents
For vendors working at your facilities or performing higher-risk activities, consider collecting:
- Safety training records
- EHS induction records
- PPE compliance records
- Risk assessment documents
- Emergency procedures
- Incident records where applicable
- Safety certifications
Site-specific requirements should be included where vendors work on company premises.
7. Verify Vendor Documents
Collecting documents is only the first step.
Before approval, review:
- Document type
- Vendor name
- Document number
- Issue date
- Expiry date
- Scope
- Applicability
- Completeness
- Consistency with vendor information
Documents that are missing, expired, unclear, or inconsistent should be sent back for correction.
8. Complete Vendor Due Diligence
Depending on the organization’s risk process, due diligence may include:
- Vendor background information
- Financial information
- Quality assessment
- Compliance review
- Insurance verification
- Risk classification
- Reference checks
- Sanctions or other screening where applicable
The level of due diligence should be proportionate to vendor risk.
9. Complete Internal Approvals
Vendor onboarding may require approval from multiple departments.
Depending on the organization, this may include:
- Procurement
- Finance
- Compliance
- HR
- EHS
- Quality
- Legal
- Operations
A clearly defined approval workflow prevents vendors from being activated before required reviews are complete.
10. Verify Banking and Payment Information
Finance teams may need to verify:
- Bank account details
- Account holder name
- Bank name
- Payment terms
- Applicable tax information
- Supporting banking documentation
Payment-related information should be handled using appropriate internal controls.
11. Complete Contract or Agreement Review
Where applicable, review:
- Purchase agreements
- Service agreements
- Master service agreements
- Non-disclosure agreements
- Statements of work
- Insurance requirements
- Compliance obligations
Contract requirements should be aligned with the vendor’s actual scope of work.
12. Activate the Vendor
After all required checks and approvals are complete, the vendor can be activated.
Activation may include:
- Vendor code creation
- ERP registration
- Portal account creation
- User access
- Role assignment
- Purchase order eligibility
- Site access where applicable
Only approved vendors should proceed to the organization’s normal purchasing or service process.
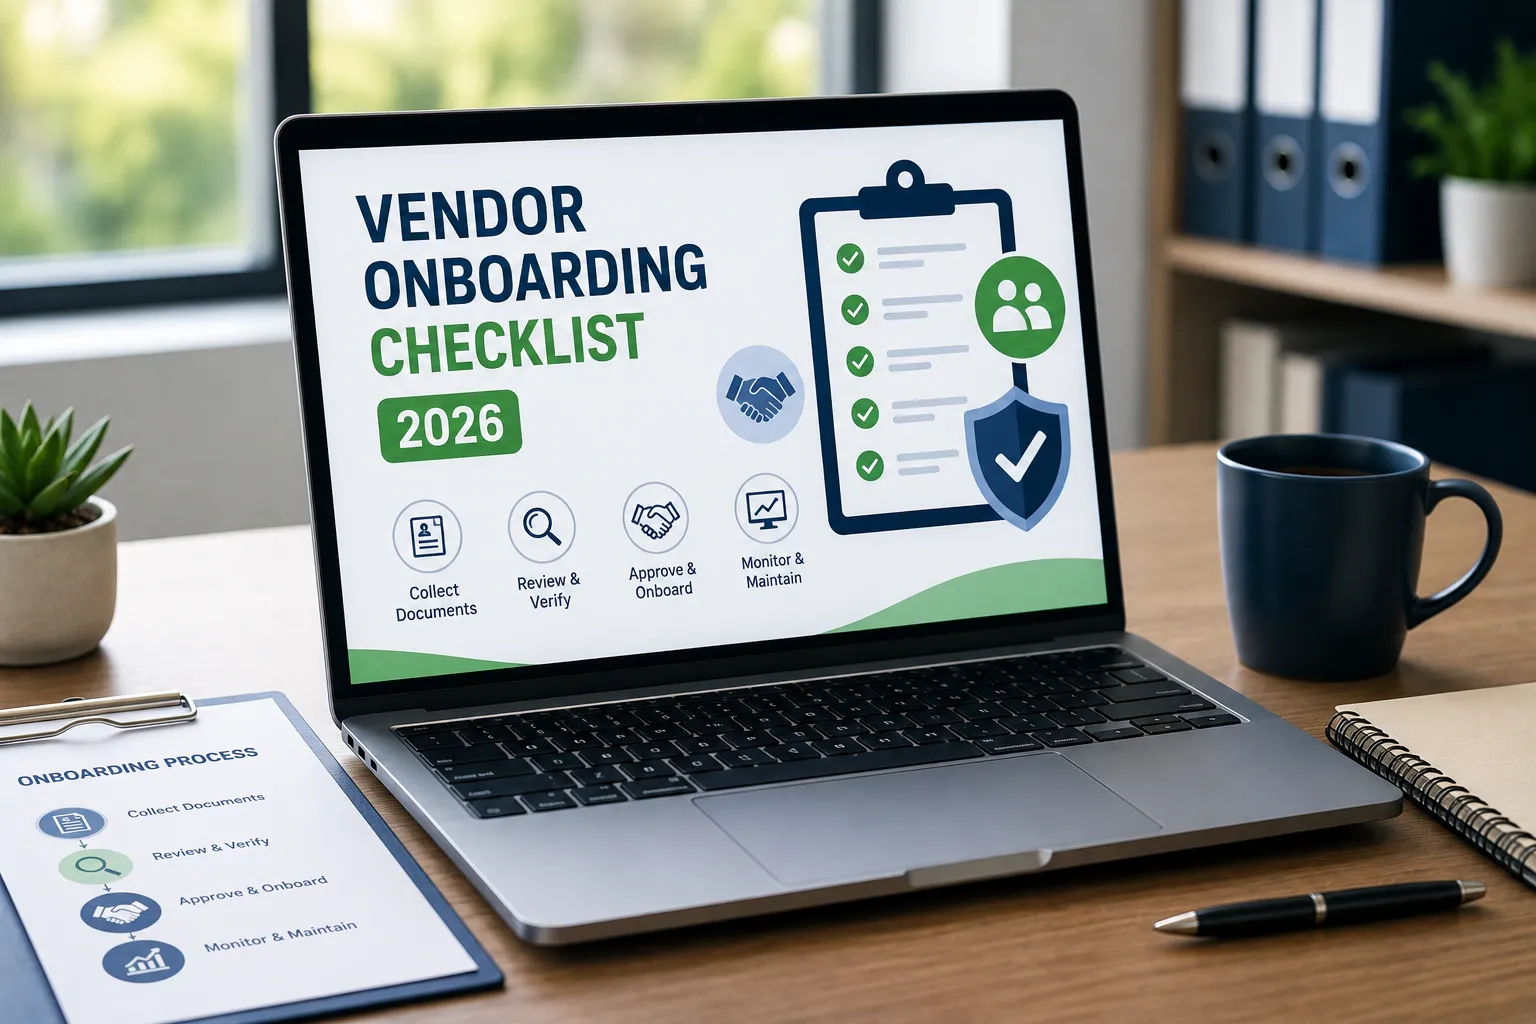
Vendor Onboarding Process
A simple vendor onboarding workflow looks like this:
Vendor Invitation
↓
Vendor Registration
↓
Information Collection
↓
Document Collection
↓
Document Verification
↓
Risk and Due Diligence Review
↓
Internal Approval
↓
Vendor Activation
↓
Ongoing Compliance Monitoring
Vendor onboarding should not necessarily end when the vendor is activated. Important documents, contracts, and compliance requirements may need to be monitored throughout the vendor lifecycle.
Vendor Onboarding Checklist by Department
Different teams may have different responsibilities.
| Department | Typical Responsibility |
|---|---|
| Procurement | Vendor information, category, commercial review |
| Finance | Banking and payment information |
| Compliance | Statutory and regulatory documentation |
| HR | Labour and manpower-related requirements |
| EHS | Safety and environmental requirements |
| Quality | Quality certifications and supplier assessment |
| Legal | Contract and legal review |
| Operations | Scope, site, and operational requirements |
The exact responsibilities depend on the organization’s internal process.
Manual Vendor Onboarding vs Structured Onboarding
| Manual Process | Structured Onboarding |
|---|---|
| Email-based requests | Standardized checklist |
| Excel tracking | Centralized workflow |
| Scattered documents | Central vendor record |
| Manual follow-ups | Automated notifications |
| Unclear ownership | Assigned responsibilities |
| Difficult status tracking | Clear onboarding status |
| Audit preparation takes longer | Better audit history |
A checklist does not have to mean complex software. Even a simple standardized process can improve consistency.
Common Vendor Onboarding Mistakes
Using the Same Checklist for Every Vendor
A raw material supplier, security contractor, and software provider may have completely different requirements.
Activating Vendors Before Verification
Vendor activation should follow the organization’s required checks and approvals.
Collecting Documents Without Checking Them
A document should be reviewed for validity, applicability, and consistency.
Forgetting Expiry Dates
Some documents require periodic renewal and ongoing monitoring.
No Clear Ownership
Each onboarding step should have a responsible team or person.
Relying Entirely on Email
Email can make it difficult to track missing documents, approvals, and status.
Not Maintaining Audit History
Organizations should be able to understand what was submitted, reviewed, approved, rejected, and changed.
Best Practices for Vendor Onboarding
Standardize the Process
Create a consistent onboarding workflow for all vendors.
Use Vendor-Specific Requirements
Customize requirements based on vendor category, industry, risk, and scope.
Define Mandatory Documents
Clearly identify which documents are required before approval.
Assign Responsibility
Make ownership clear for procurement, finance, compliance, HR, EHS, quality, and legal reviews.
Automate Follow-Ups
Use automated notifications where possible to reduce repetitive communication.
Track Expiry Dates
Monitor documents that require renewal after onboarding.
Maintain an Audit Trail
Keep records of submissions, approvals, rejections, and changes.
Review the Checklist Periodically
Update requirements when business processes, contracts, sites, or applicable requirements change.
How a Vendor Onboarding Checklist Improves Audit Readiness
A structured onboarding checklist creates a consistent record of what was required and what was completed.
During an audit or internal review, organizations can more easily identify:
- Approved vendors
- Missing documents
- Pending approvals
- Document verification status
- Vendor risk information
- Historical onboarding records
Good onboarding records also make ongoing vendor compliance easier to manage.
How the Free Vendor Onboarding Checklist Tool Helps
Creating an onboarding checklist from scratch can be time-consuming, particularly when different teams require different information.
The free Vendor Onboarding Checklist tool provides a practical starting point for organizing the onboarding process.
You can use the checklist to:
- Identify onboarding steps
- Organize document requirements
- Standardize vendor onboarding
- Review missing information
- Create a repeatable process
- Improve onboarding consistency
Try the Free Vendor Onboarding Checklist →
The generated checklist should be customized to your organization’s contracts, policies, vendor categories, risk levels, and applicable requirements.
Vendor Onboarding and Vendor Compliance
Vendor onboarding is the beginning of the vendor relationship, while vendor compliance continues throughout the lifecycle.
After activation, organizations may need to monitor:
- Document expiry
- Insurance renewal
- Statutory submissions
- Contract renewal
- Vendor performance
- Compliance status
- Risk indicators
This is why onboarding should connect with ongoing vendor compliance management.
How VendorCompliancePro Helps
VendorCompliancePro helps organizations manage vendor onboarding and ongoing compliance through:
- Vendor self-service portal
- Centralized vendor repository
- Document collection
- Approval workflows
- Automated expiry reminders
- AI-powered document validation
- Compliance dashboards
- Audit trails
- Reporting and analytics
This allows organizations to move from manual vendor onboarding to a more structured vendor management process.
Frequently Asked Questions
What is a vendor onboarding checklist?
A vendor onboarding checklist is a structured list of information, documents, verification steps, and approvals required to register and approve a supplier or contractor.
What documents are required for vendor onboarding?
Requirements vary by vendor. Common documents may include GST registration, PAN, company registration, applicable statutory registrations, insurance, quality certificates, and safety records.
Who is responsible for vendor onboarding?
Procurement often coordinates onboarding, but finance, compliance, HR, EHS, quality, legal, and operations may also participate.
Should every vendor use the same onboarding checklist?
No. Requirements should be adapted based on vendor type, industry, risk, services, location, contract, and applicable requirements.
Should vendor documents be checked for expiry?
Yes, where documents have validity or renewal requirements. Expiry dates should be monitored after onboarding.
Can Excel be used for vendor onboarding?
Yes. Excel can work for a small number of vendors, but structured workflows and centralized systems provide better visibility as the vendor base grows.
Is the Vendor Onboarding Checklist free?
Yes. VendorCompliancePro provides a free online Vendor Onboarding Checklist tool.
Conclusion
A Vendor Onboarding Checklist helps organizations create a consistent and repeatable process for registering, verifying, approving, and activating suppliers and contractors.
Instead of relying on scattered emails and spreadsheets, procurement and compliance teams can use a structured checklist to identify required information, verify documentation, assign responsibilities, and maintain better audit records.
If you are building or improving your vendor onboarding process, start with a structured checklist and customize it according to your vendor categories, risk levels, contracts, and applicable requirements.
Use the Free Vendor Onboarding Checklist →